advices
Step-by-Step Guide to a Perfect Pedicure
The following is a great system for creating the perfect manicure or pedicure at home:
First, remove any previously applied nail polish. It doesn’t matter whether you use a nail polish remover that contains acetone or not. It also doesn’t matter whether the nail polish remover claims to contain moisturizing ingredients. If a nail-polish remover can remove nail polish it is going to be rough on your nails and cuticles, but that is the price of nicely painted nails. Use as little nail polish remover as necessary to remove the polish. Never soak the nail in it! Nail-polish remover is extremely drying on the entire nail area, especially the cuticle. Keeping contact with nail polish remover to a minimum is crucial for the well-being of the nail and cuticle.
Before soaking your fingernails in water, either cut them or file them into shape. When fingernails are wet, they are more prone to damage then when they are dry. Gently file the nails into the shape you want, using the least-abrasive emery board you can find (avoid metal or extremely coarse files). Avoid shaping your nails into long talons or severe shapes (too square or pointy). Fingernails can be given a slightly rounded edge to protect the nail growth or a square appearance as long as it isn’t too squared off. Quality nail files can be found in most major drugstores and don’t have to cost a fortune.
 Soaking the cuticle is necessary if you plan to remove a bit of excess cuticle but over-soaking the nails can damage them, so immerse your nails in plain warm water for no more than three minutes. Avoid soapy or detergent-filled water, which only dries the skin and damages the cuticle. For your feet, because of the thickness of the toenails and their cuticles, the toenails can be immersed in water for a longer period of time. A warm soak feels wonderful and also helps soften the nail so it can be cut easier with a nail clipper.
Trim toenails carefully using nail clippers. Nails are definitely easier to trim after bathing or soaking, but if you have soft nails cut them before you soak them to prevent tearing or damage to the nail. Toenails should be trimmed straight across, slightly above the quick. Avoid cutting them too short because doing so increases the chance of developing ingrown toenails.
Moisturize cuticles with a very emollient, thick moisturizer. Almost any moisturizer or oil for dry skin will do. It is not necessary to purchase special cuticle creams: They contain absolutely nothing special for the nail or cuticle.
Now is a great time for using a sugar scrub to massage your feet, legs, hands, and arms. Rinse your hands first and then take time to use a metal foot file or flat pumice stone to buff away calluses on the bottoms of your feet. Then rinse the scrub off your feet and legs.
As an option, you can apply a specialized cuticle remover that actually dissolves excess cuticle skin. One of the more effective ones is Cuticle Eliminator ($3) available at some drugstores or beauty supply stores. Its high pH level is what makes it work so well, but that also means you don’t want to leave it on your skin for too long. Apply the Cuticle Eliminator lotion to the cuticle area and then proceed to step 8.
Next, very, very gently, push the cuticle back away from the nail but avoid pushing it too far which can damage nail growth or fray the cuticles. Be careful not to pull, lift, tear, rip, force, or cut into the cuticle in any way. Trim only the free edge of your cuticles, avoiding the cuticle area next to the nail bed. Cutting too deep can eventually damage the nail.
Before you polish your nails, it is essential to remove any remaining oil or moisturizer from them. Moisturizing ingredients of any kind left on the nail prevent polish from adhering to the nail. Use nail polish remover or plain alcohol just over the nail’s surface to take off any moisturizer. Avoid getting nail polish remover on the cuticle; that’s the area you want to keep the moisturizer on, but be thorough about the nail itself.

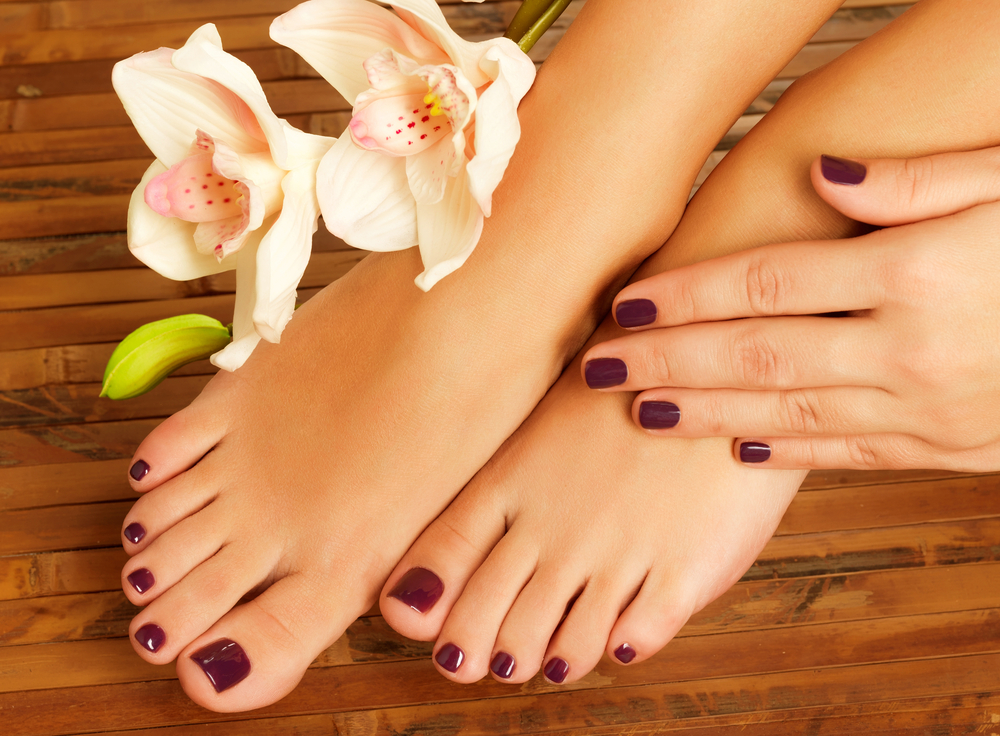
Pedicure in the spa salon in the garden
Polish your nails in layers, allowing them to dry between coats. A minimum of four coats (base coat, two coats of color, and a top coat) is standard. If you have weak or brittle nails, place one or two coats of ridge-filling nail polish on the nail as the base coat; this is the best way to shore up the nail. Two coats of a colored nail polish are next, followed by a top coat to add shine and luster.
Allow plenty of time for the polish to dry. Quick-dry polishes and some quick-dry top coats of polish often contain alcohol, which can cause the polish to peel and chip more easily, so you want to avoid those. Using a quick-dry oil or spray after you’re done polishing is a great way to ward off smudges, but these won’t prevent nicks or dents in the polish, so be careful.
Do not dry your nails with a blow dryer or any other heat source. Heat causes the polish to expand and lift away from the nail.
Once the polish is dry, massage a rich emollient moisturizer or balm onto the cuticle area. This will help encourage healthy nail growth and protect the cuticle.
Touching up polish every other day with a layer of top coat can help make a manicure last longer. Carry a bottle of top coat in your purse, and when you have a moment or break in your day, do a quick once-over. A single layer dries quickly and makes all the difference in keeping up appearances.
Original article: http://www.paulaschoice.com/expert-advice/body-care/_/home-manicures-pedicures


